
How To Hang A Neon Sign: A Complete Wall Mounting Guide
A neon sign only looks as good as its installation. Get the mounting wrong and even the most striking design ends up crooked, loose, or worse, damaged within weeks. Get it right, and it becomes a permanent feature that holds its position for years. This guide walks through exactly how to hang a neon sign, from the tools you need to the small details that separate a professional finish from a wobbly one.
Most custom LED neon signs, including everything we build at Neon Cloud, arrive with pre-drilled mounting holes and the hardware needed for a standard wall fitting. That said, knowing what you're doing before the drill comes out will save you a patched hole and a second trip to the hardware store.
What You Need Before You Start
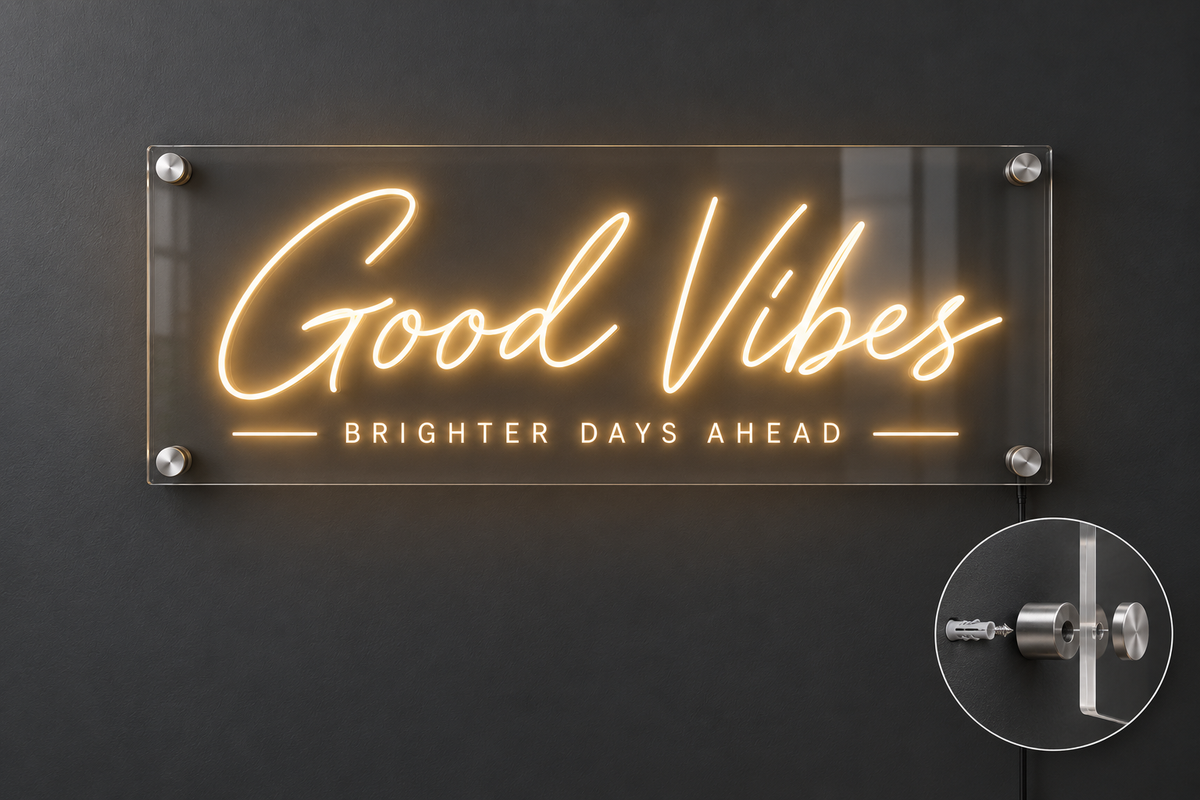
Before hanging a neon sign, gather the right tools. You'll typically need a drill, a spirit level, a pencil, a tape measure, wall plugs suited to your wall type, and the mounting screws supplied with your sign. Acrylic backing boards usually come with small standoff mounts or keyhole slots already fitted, so check what's included before assuming you need to buy extra hardware.
It also helps to know your sign's weight and dimensions in advance. A small desk-sized piece behaves very differently to a two-metre shopfront sign, and the anchoring method should reflect that. If you're unsure what your sign weighs, this is usually listed on the order confirmation or can be requested from whoever manufactured it.
One more thing worth doing early: decide on your power source location. Neon signs need a nearby power point or a planned cable run, and it's far easier to figure this out before there are holes in the wall.
Step By Step: Mounting Your Neon Sign
Marking And Measuring
Start by holding the sign against the wall, or better yet, get a second person to hold it, and step back to check the position looks right from a normal viewing distance. Use a pencil to lightly mark the top corners, then measure down and across to find your mounting points based on the hardware on the back of the sign. A spirit level here is non-negotiable. Even a few millimetres of tilt becomes obvious once the sign is lit and mounted at eye level.
Double check your measurements against a stud finder or wall scanner if you're working with plasterboard. This tells you whether you're drilling into a solid stud or hollow cavity, which changes the type of fixing you'll need.
Drilling And Fixing Mounting Points
Once your marks are set, drill pilot holes at each point. Insert wall plugs if you're working with brick, concrete, or plasterboard without a stud behind it, then fix the mounting screws partway in, leaving a small gap if your sign uses keyhole slots that hook over the screw head. If your sign uses standoff mounts instead, screw these in flush and fully secure.
Lift the sign into place carefully, particularly with larger pieces where the acrylic backing can flex if handled awkwardly. Hook or fix it onto the mounting points and give it a gentle wiggle test before letting go completely.
Connecting And Testing
With the sign hanging securely, connect the power adaptor and run the cable to your power point, using cable clips to keep it neat and out of the way. Turn it on and check the full sign lights evenly, with no flickering sections or dark spots. This is also the point to confirm the sign sits flush against the wall with no visible gap or lean.
If anything looks off, it's far easier to adjust now than after the cable is tucked away and the workspace is tidied up.
Different Wall Types And Mounting Considerations
Not every wall behaves the same way, and the mounting approach should change accordingly. Plasterboard walls need either a stud fixing for anything over a few kilograms, or a rated cavity anchor if a stud isn't available in the right spot. Brick and concrete walls need masonry drill bits and matching wall plugs, and take longer to drill through, so patience matters more than force.
Glass or tiled surfaces are trickier again. These generally call for specialised adhesive mounts rather than drilling, since cracking a tile to hang a sign defeats the purpose entirely. If your business has a glass shopfront window, suction or adhesive mounting kits are usually the better fit, and it's worth confirming this with your supplier before the sign is built.
Outdoor brick or render also introduces weatherproofing considerations. Sealing around the drill holes helps stop moisture getting behind the sign, which extends the life of both the wiring and the wall itself.
Common Mistakes To Avoid
A surprising number of installation issues come down to rushing the measuring stage. Skipping the spirit level, eyeballing the centre point, or drilling before double checking hole spacing are the most common culprits behind a crooked result. Another frequent mistake is underestimating sign weight and using standard plasterboard plugs where a proper cavity anchor was needed.
Cable management gets overlooked too. A neon sign with a cord dangling loosely across the wall loses a lot of its visual impact, even if the sign itself is perfectly mounted. Planning the power run before drilling avoids this entirely.
Finally, some people mount signs too close to direct sunlight or heat sources without checking manufacturer guidance first. LED neon flex handles heat reasonably well, but prolonged direct exposure can affect the adhesive backing and shorten the lifespan of the sign over time.
When To Call In A Professional
Small to medium signs on standard interior walls are well within reach for most people with basic DIY confidence. Larger commercial installations, shopfront signage, or anything requiring scaffolding or working at height are a different story, and this is where a professional installer earns their fee. Structural walls, heritage buildings, and complex electrical runs also tend to benefit from an expert eye rather than a guess.
If you're ever unsure whether your wall can support the sign's weight safely, it costs nothing to ask before drilling. A quick message to your supplier is usually enough to confirm the right hardware for your specific setup.
Getting a neon sign mounted properly is part craftsmanship, part patience. Take the time on measuring and wall assessment, and the rest tends to fall into place. If you're after a custom neon sign built with mounting hardware suited to your space from the start, browse the range at Neon Cloud https://neoncloud.com.au or get in touch for a design consultation.